Customer Service
 Innovation Center
A very important aspect of learning is practical knowledge and hands-on experience. In this world where technology is exponentially growing it is very important to not only teach the students what is in the books but to provide them with opportunities and environments where they can develop and hone their practical skills.
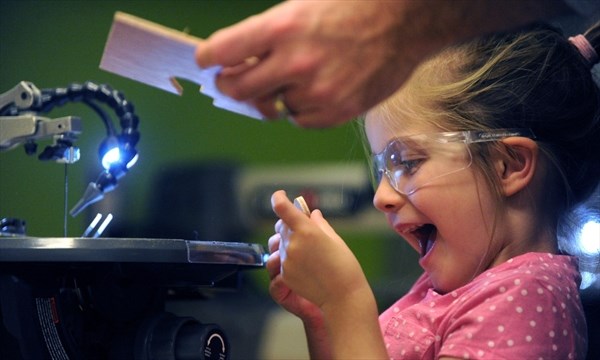
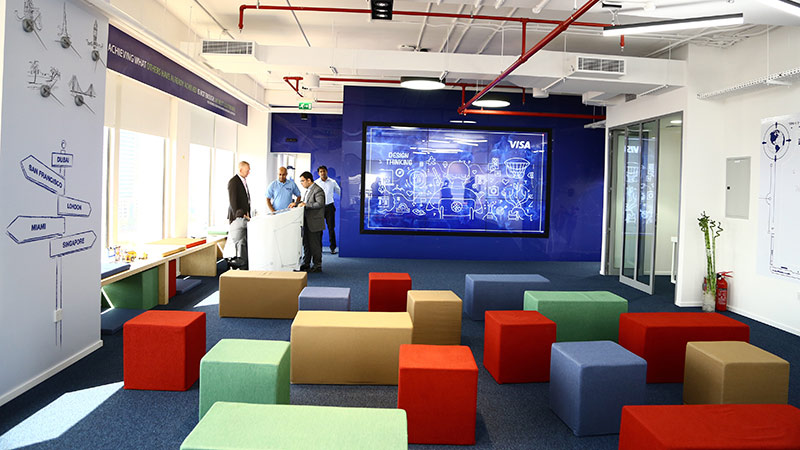
Innovation centers are centers that help students of different ages and different interests to design and manufacture products. Whether they are in schools or majoring in electrical or mechanical engineering, innovation centers provide the students with means of making real-life models of what they learn inside the classrooms.
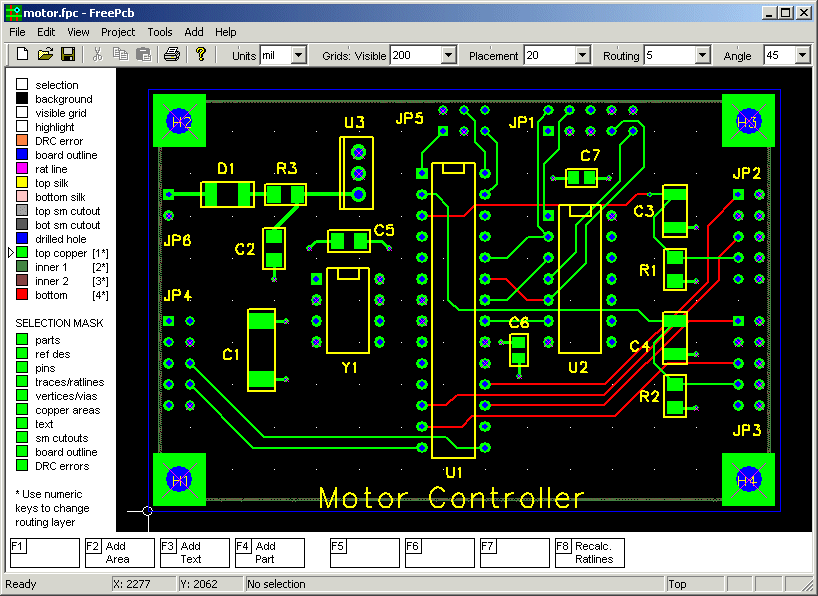
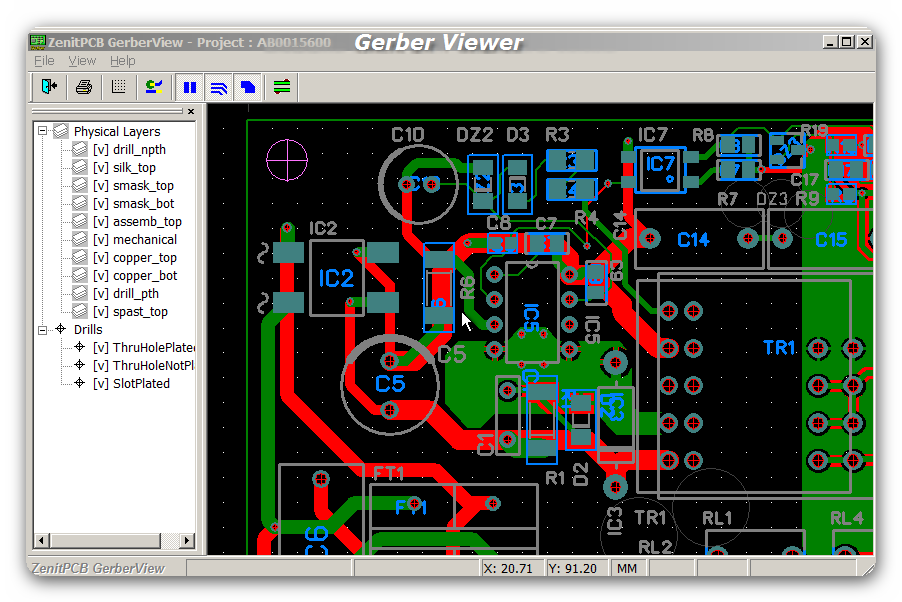
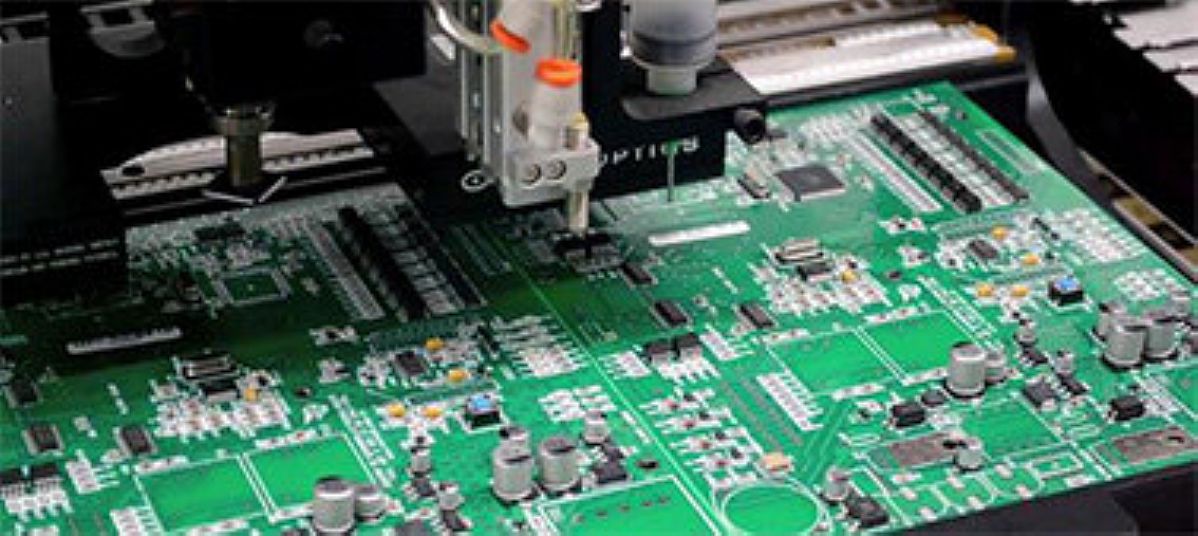
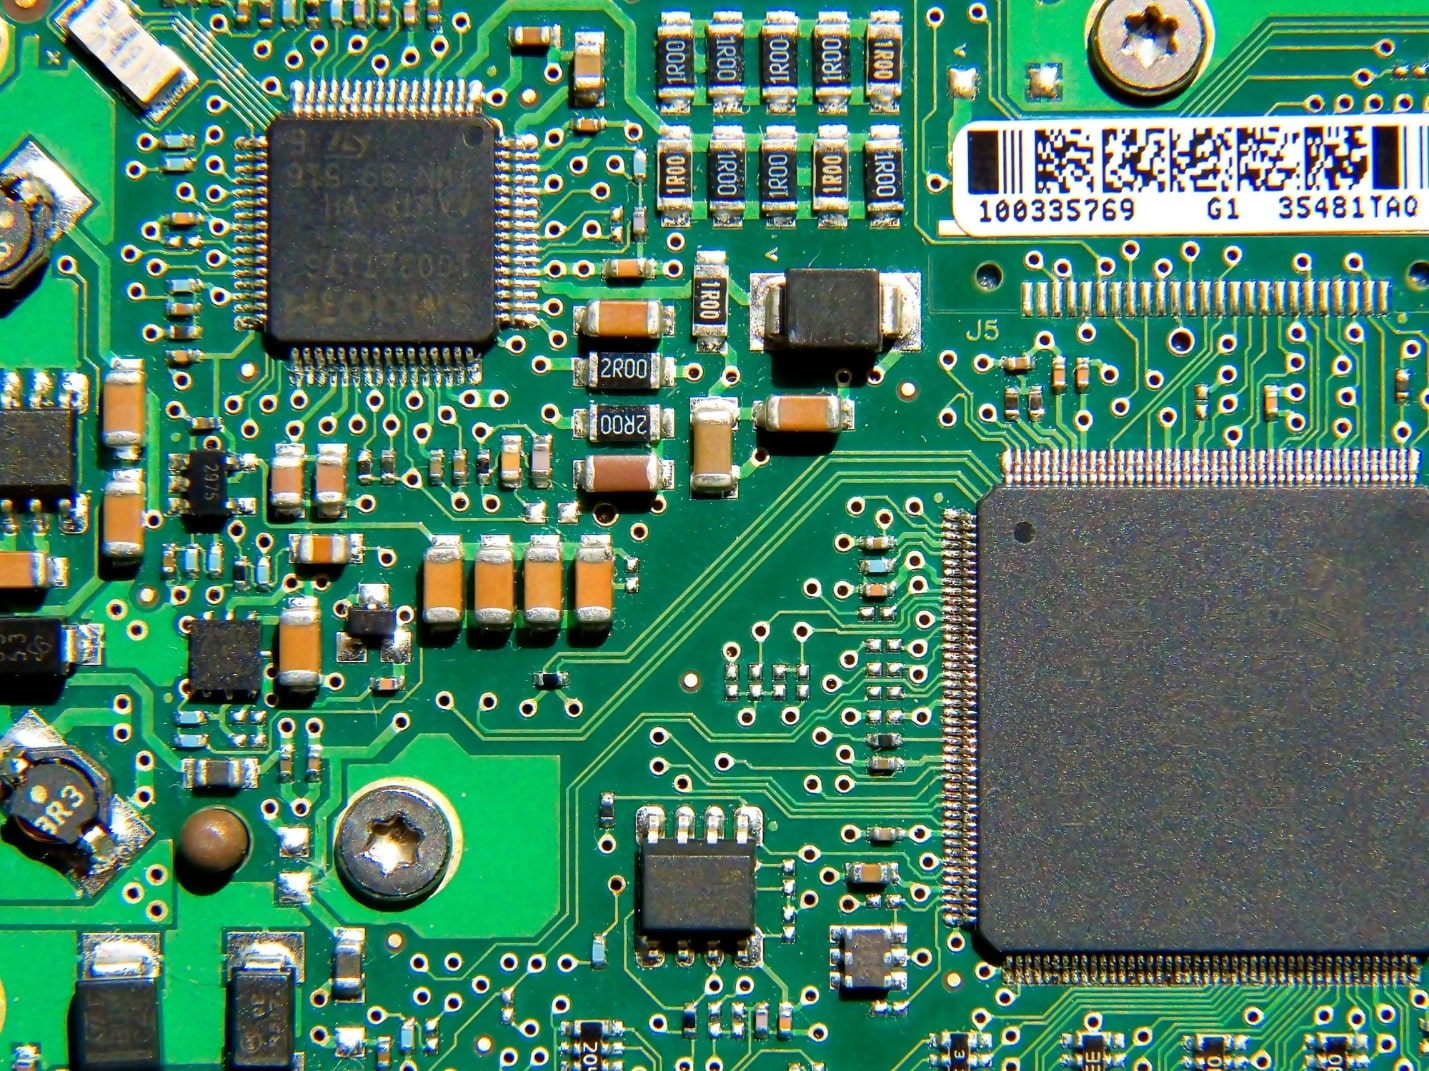
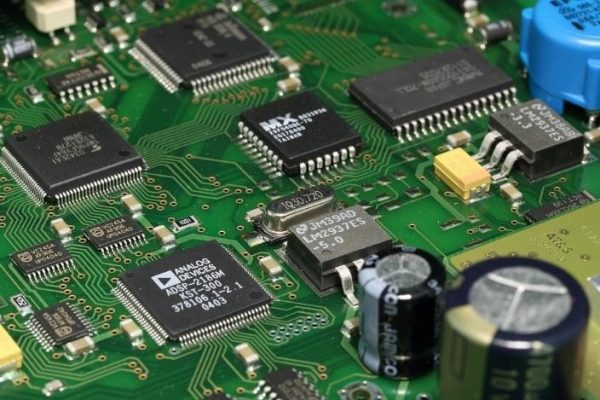
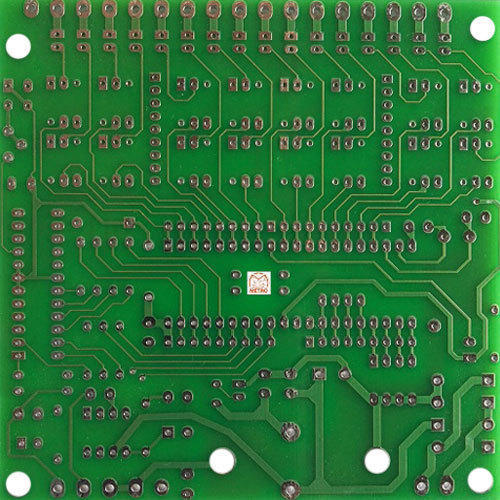
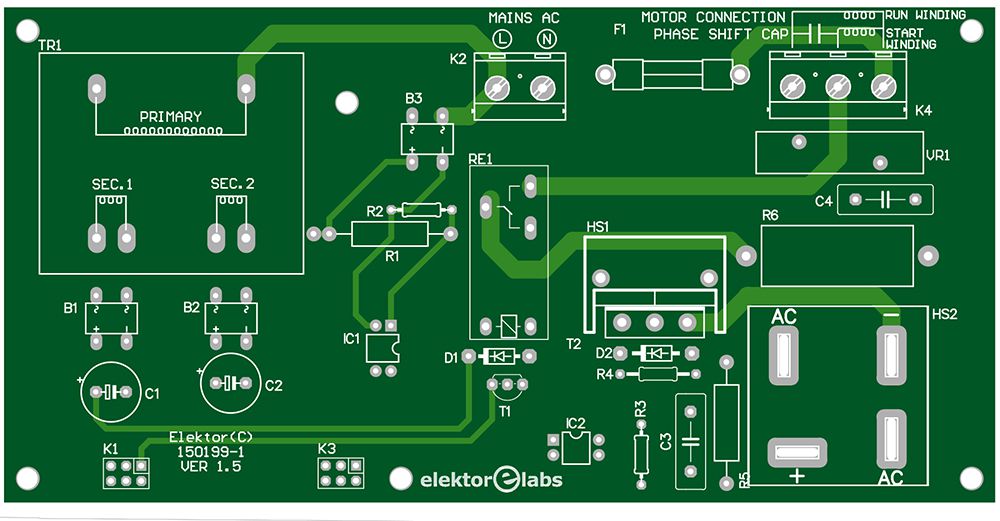
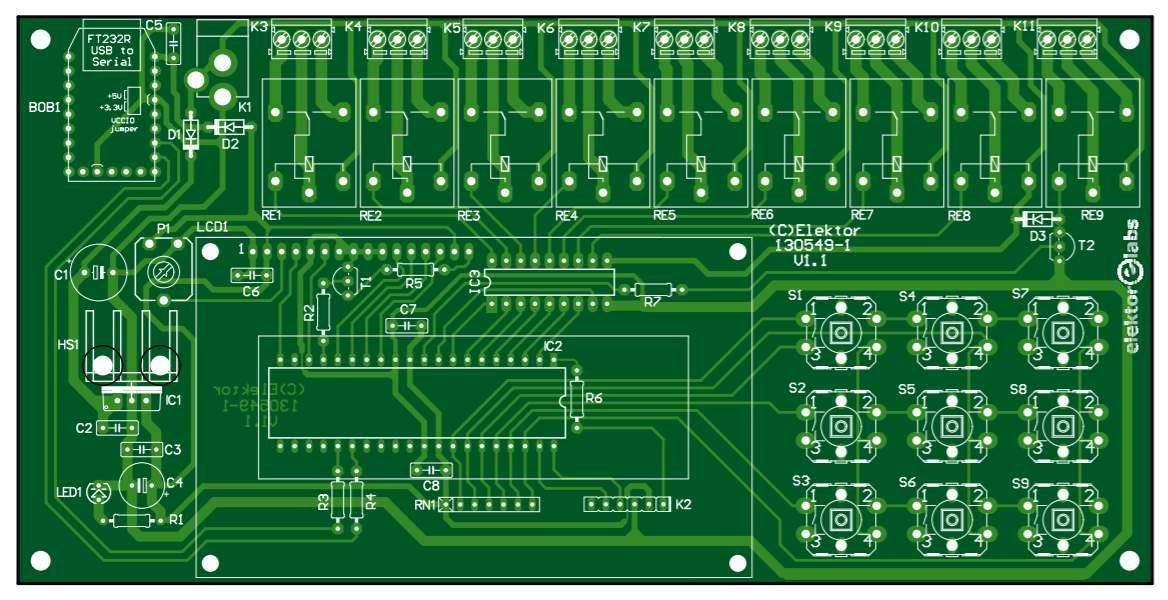
Such centers are very useful for universities and schools because they will be able to provide their students with practical experience and will allow them to use their creative minds to make amazing products such as: PCBs, robots, RC Cars, etc. Furthermore, the electronics machines that we provide have high safety standards and are very easy to use.
In conclusion, technology is not only our present but also our way to a better future. We spend a plethora of resources helping to install, repair, maintain, and run innovation centers with our different partners. Indeed, our experience with FABLAB Emirates was one of our unique projects that helped us study how technology can form the future.


